
From sign-up to first upload
This is the whole path, in the order the app takes you through it. Screens marked Screenshot are from the app. The others are illustrations of in-app screens.
-
Create your account
Enter your name, email and a password of at least 8 characters. If a co-worker sent you their referral code, add it here.
The 24-hour free trial starts once you confirm your email. You don't need a credit card.
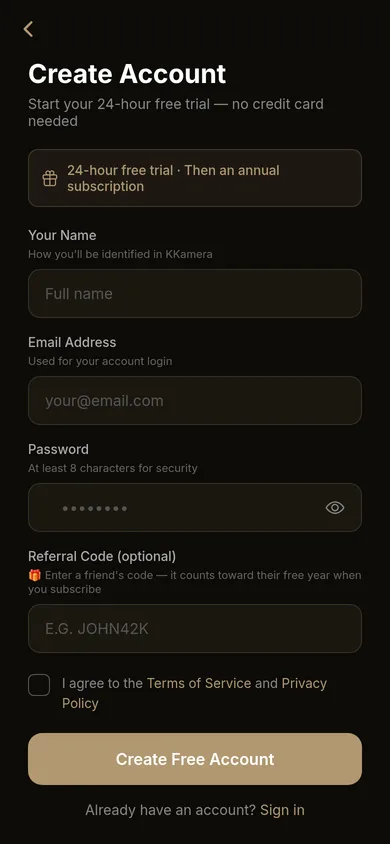
ScreenshotCreate Account -
Confirm your email and sign in
Tap the link in the confirmation email, then sign in. If you've turned on two-factor sign-in, KKamera asks for your authenticator code or a backup code.
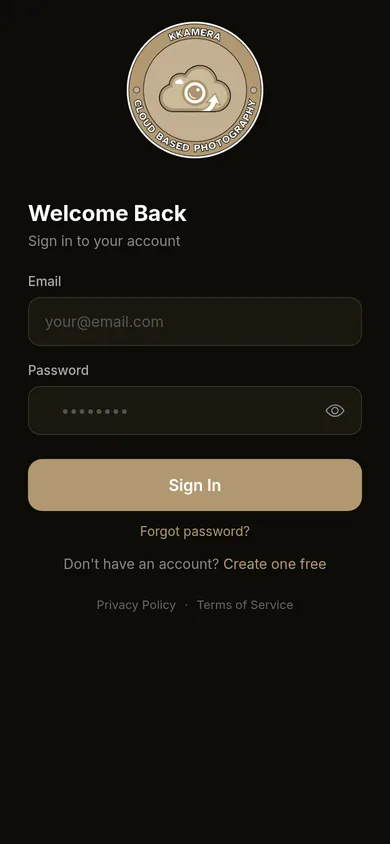
ScreenshotSign in -
Run the setup wizard
A short wizard walks you through the basics. You can skip any step and come back to it in Settings.
- 1
- Your display name
- 2
- Connect storage
- 3
- Allow camera and microphone
- 4
- Check your trial days
- 5
- Get your referral code
- 6
- You're all set
Step 2 of 6Connect storagePick where your work photos should go. You can add more later.GGoogle Drive›OOneDrive›DDropbox›+NAS or serverSynology, Nextcloud, WebDAV, FTP›Continue Skip for nowIllustrationSetup wizard -
Connect your cloud
For Google Drive, OneDrive and Dropbox, you sign in with that service and approve access. For a NAS or your own server, enter the address and login, then tap Test to check it works.
Each connection has an upload folder. It starts as /KKamera, and you can point it at /Jobs/2026 or wherever your office keeps photos.
Cloud Storage2 connectedGGoogle Driveyou@yourbusiness.com.auOKUpload folder/KKameraSSynology NASnas.office.lanOKUpload folder/Jobs/2026+ Add CloudIllustrationTwo connections, each with its own folder. Example account. -
Choose where uploads go
In Upload Destination, send shots to All accounts at once, to Selected accounts only, or choose Don't upload to keep them on the phone for now.
In Upload settings you can also set Wi-Fi only, ask to confirm before each upload, and decide whether a copy goes to your camera roll.
Upload DestinationAll accountsEvery shot to every connectionSelected accountsChoose which onesDon't uploadKeep photos on this phoneUpload settingsWi-Fi onlyConfirm before uploadSave to PhotosDelete after uploadIllustrationUpload Destination and settings. -
Shoot
KKamera opens straight to the camera. Take the photo, video, panorama or scan. A badge on screen shows the upload, and the file appears in your cloud folder.
No signal on site? The shot joins the queue and uploads when you're connected again.
⚡ AUTO1× PANOVIDEOPHOTODOCINTERVAL⟲
IllustrationThe upload badge after a shot. -
Check History
Tap the badge or open History to see every upload. Anything that failed, such as a NAS that was offline, can be retried. Queued items can be retried or discarded.
HistoryIMG_0621.jpg2 accounts · 14:37Done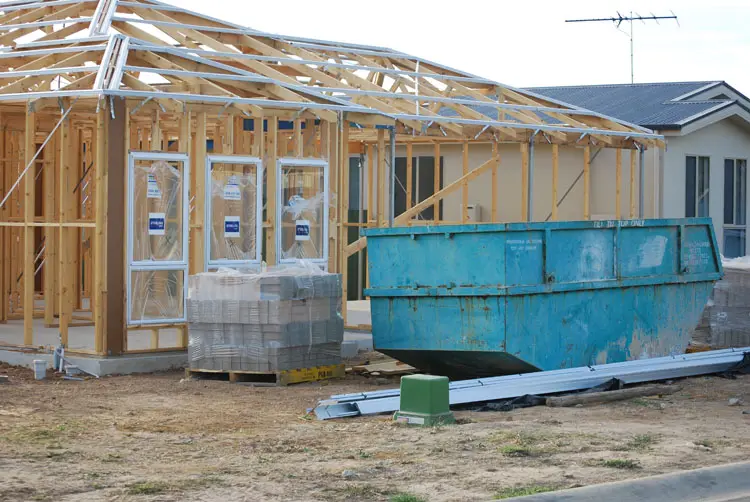 PANO_0620.jpgWaiting for Wi-FiQueued
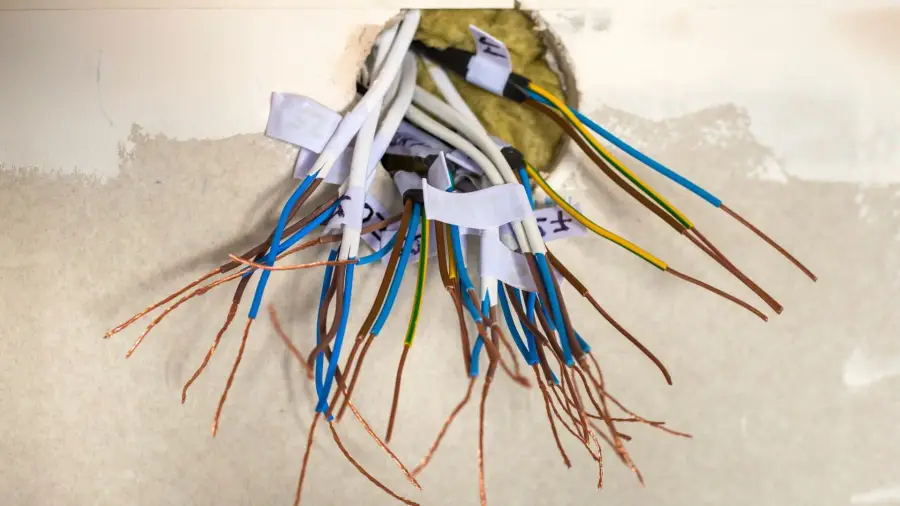 IMG_0619.jpgDrive ✓ · NAS ✕PartialRetry Discard
IllustrationUpload history
Start with 24 hours free
Then $30 a year. For early access, email development@koastal.com.au.